|

[파워포인트] 프레젠테이션에 녹음하기
오늘은 파워포인트에서 프레젠테이션에
녹음하는
방법에 대해서 알아보도록 하겠습니다.
(사용버전: 2003)
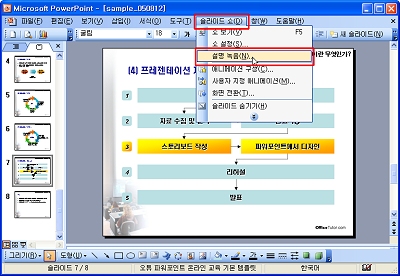
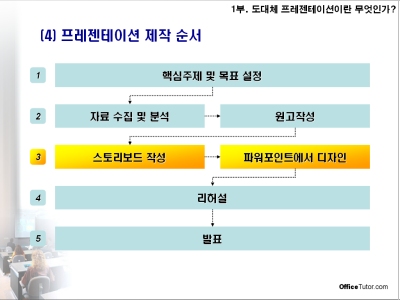
<1> 파워포인트를 실행한 후 나레이션을 녹음하고자 하는 파일을 열기합니다.<2>
슬라이드 쇼 메뉴에서 설명 녹음을 선택합니다.
<3> 설명 녹음 대화상자에서 마이크 수준 설정 단추를 눌러 마이크를
테스트합니다.
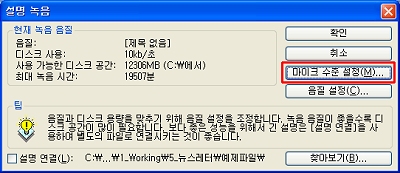
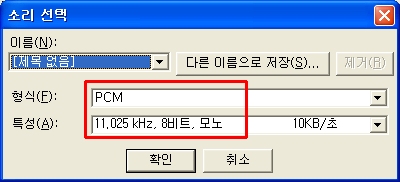
<4> 음질 설정 단추를 눌러 음질 정보를 기본으로 설정한 후 확인
단추를 클릭합니다.
<5> 설명 녹음 대화상자가 나오면 현재 슬라이드 단추를 클릭합니다.

<6> 현재 슬라이드가 슬라이드쇼로 진행되면 녹음을 시작합니다. 녹음이 완료되면 ESC키를
눌러 빠져 나옵니다.
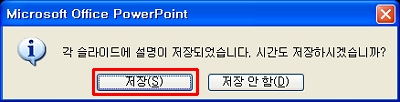
<7> "저장하시겠습니까?" 라는 대화상자가 나오면 저장 단추를 클릭합니다.
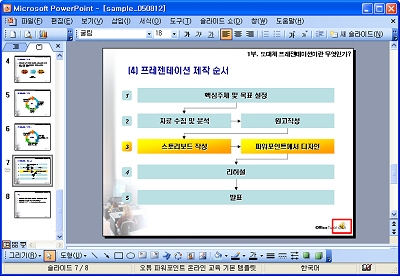
<8> 현재 슬라이드에 녹음 파일 아이콘이 슬라이드 하단에 표시됩니다. 슬라이드 쇼를 실행하면
현재 슬라이드에 녹음된 내용을 확인할 수 있습니다.
|
 OfficeTutor 365